Basic Usage #
Use Automatic Optimization #
There are several optimizations which can be performed automatically for Avatars.
- Removing Unused BlendShapes(Shape Keys)1
- For BlendShapes with non-zero weight, freezing BlendShapes will reduce processing cost.
- Even if the weight is zero, removing BlendShapes will reduce the size of avatars.
- Removing unused Behaviours such as PhysBones
- If there are enabled PhysBones which do not need to be swayed (e.g., the swaying target mesh2 is always disabled), extra computational cost is caused.
- Merging bones which is not animated or swayed with PhysBones
- If the clothes bones are nested into the body bones, there will be many bones which are never moved locally. Such bones cause extra cost.
- Merging meshes which are toggled together or never toggled
- If your avatar has only one cloth, it might not be necessary to have separated meshes for body, hair, and clothes.
- Even if you have multiple switchable clothes, it might not be necessary to have separated meshes with body, hair, and underwear.
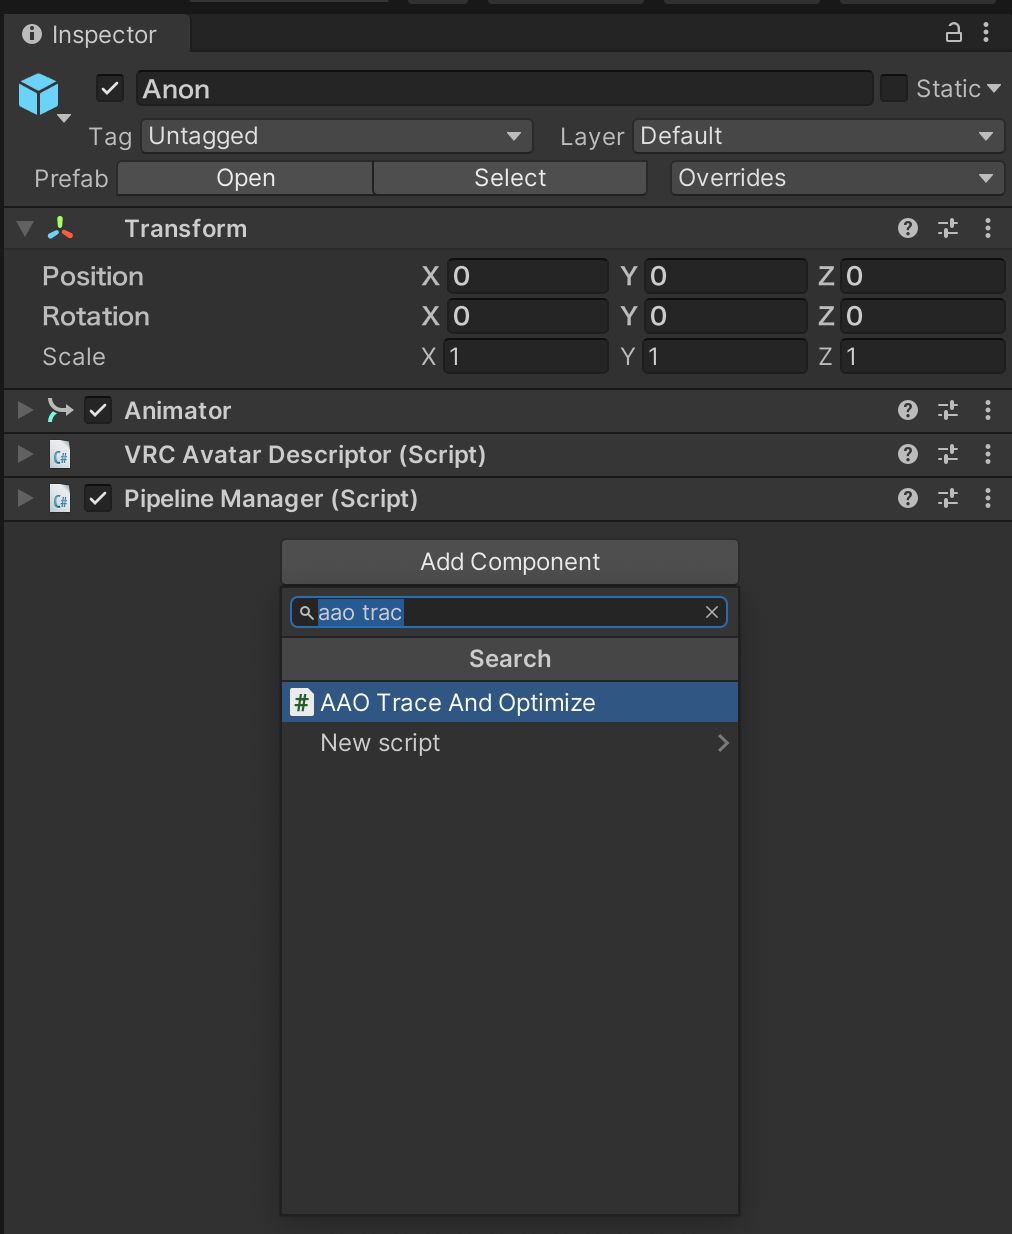
With AvatarOptimizer, these optimizations can be performed automatically by simply adding AAO Trace And Optimize component to the Avatar Root!
Upload Avatar #
Now that you have added AAO Trace and Optimize component, let’s try uploading your avatar!
AAO: Avatar Optimizer is a non-destructive avatar modification tool, and processes avatars on entering play mode or building them.
Therefore, no special steps are required for uploading.
Upload your avatar via VRCSDK Control Panal as usual.
However, even though the hard limit will not be exceeded through Avatar Optimizer optimization, etc., the upload button cannot be pressed if the limit has been exceeded at the time of the VRCSDK pre-build check.
You can skip the pre-build check with several ways. Please refer faq for more details.
Checking performance rank without uploading avatar #
When using non-destructive avatar modification tools, Performance Rank on the VRCSDK Control Panel is no loner be relied upon.
Instead, you can check Performance Rank in Play Mode with Actual Performance Window of anatawa12’s Gist Pack. Please check basic usages of anatawa12’s Gist Pack and documentation of Actual Performance Window for more details。
Applying non-destructive tools manually #
You can use
NDM Framework/Manual bake avataron the context menu of the Avatar GameObject to apply non-destructive tools manually.This will clone your avatar and apply non-destructive tools to the cloned avatar, so your original avatar will not be modified.
This can be useful in some cases (e.g. when exporting a VRChat avatar in VRM format).
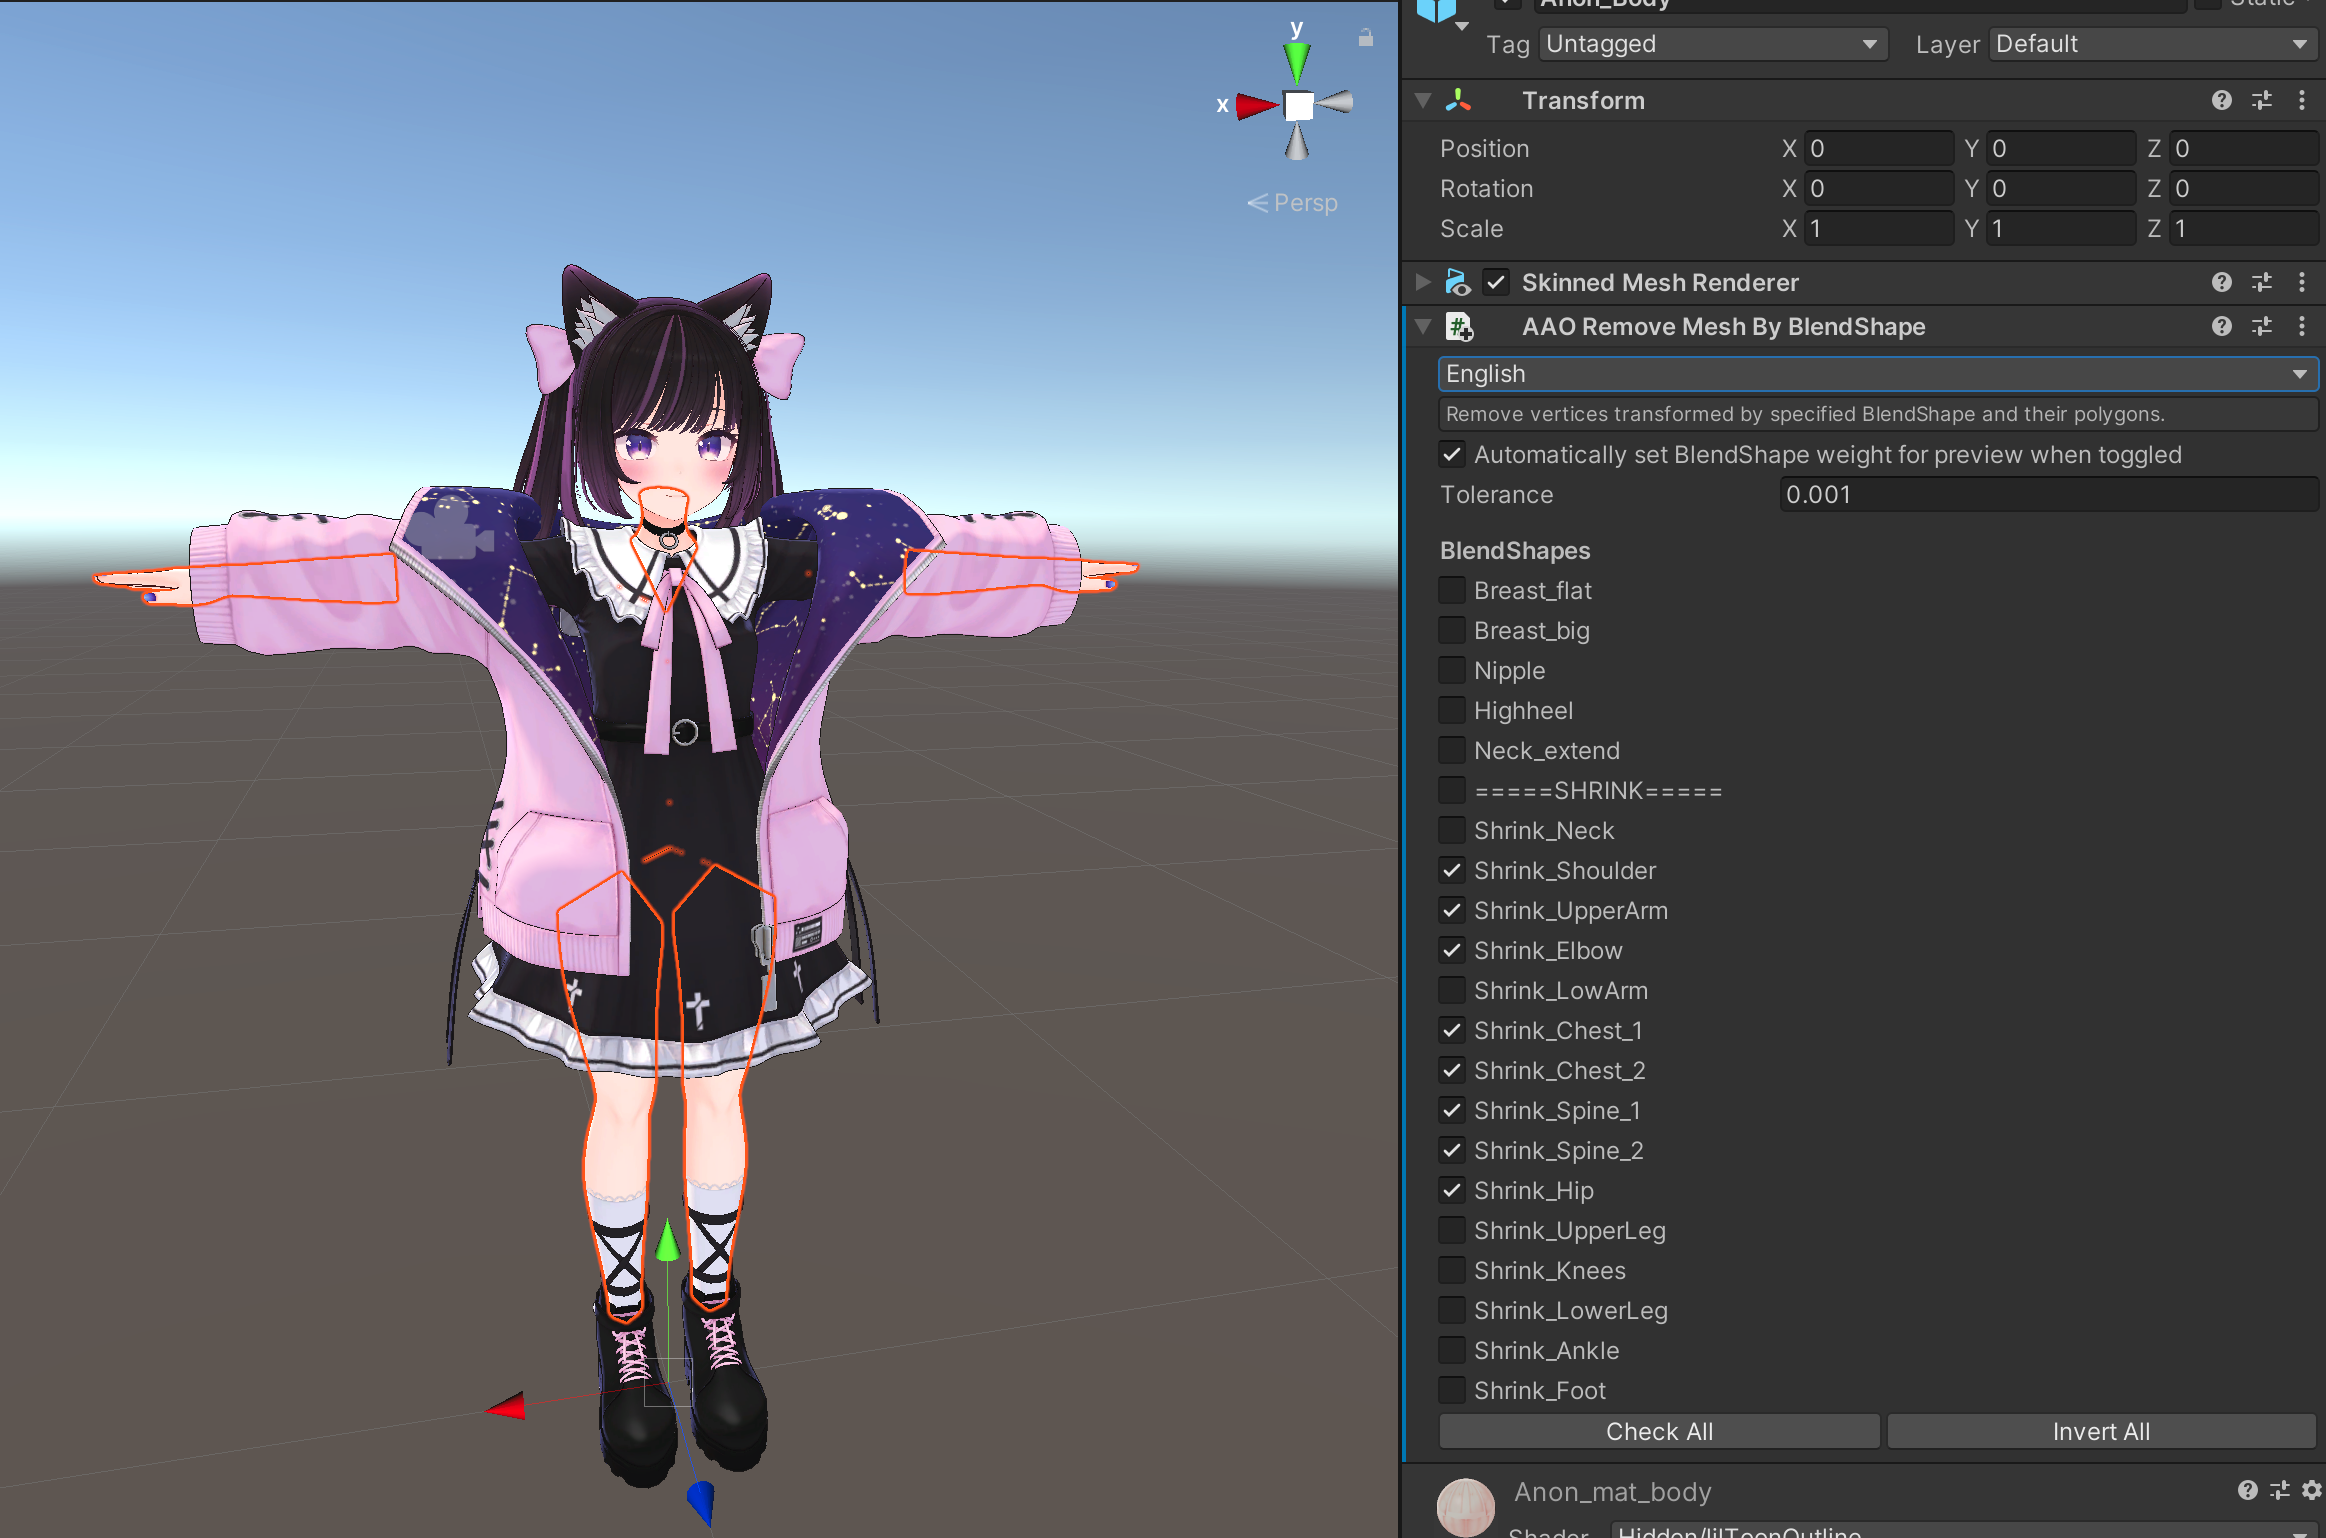
Reduce polygons with BlendShapes which shrink parts of the body #
By removing polygons which are hidden by clothes or something, you can reduce rendering cost, BlendShape processing cost, etc. without affecting the appearance so much. To make this easier, AvatarOptimizer allows you to remove polygons with BlendShapes for shrinking parts of the body, which many avatars have!
Let’s add AAO Remove Mesh By BlendShape component to Body Mesh, and select BlendShapes from the BlendShapes list below that shrink the parts of the body you want to remove!
In case polygons you want to remove are not removed, or you do not want to remove are removed, you need to adjust the Tolerance value!
Tolerance decides how much the vertex is moved by BlendShape to be removed.
If some parts intended to be removed are not removed, increase the value a little; otherwise, decrease it a little!